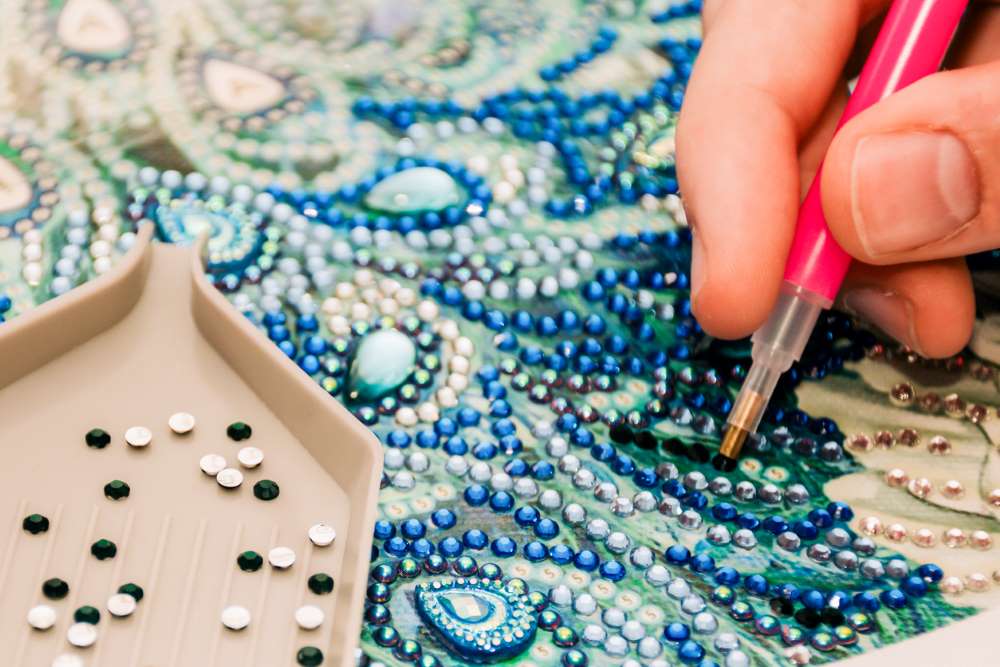
If you’re looking for a fun DIY family activity, why not try diamond painting? Creative fun for the whole family and a cool new piece of art? Yes, please.
Originating in Asia, diamond painting is a mix between paint-by-numbers and cross-stitch. It’s also an excellent stress-reliever and helps clear your mind.
WHAT IS DIAMOND PAINTING?
Diamond painting, or paint-by-diamonds, is similar to paint-by-numbers, except diamond paintings use sparkling resin "diamonds" instead of paint to create beautiful works of art. It really should be called diamond-by-number, but we'll let that slide.
Rather than using a paintbrush, diamond paintings use an applicator pen to apply the diamonds one-by-one to a color-coded canvas. The diamonds are referred to as drills and are either round or square.
What’s the difference between round drills and square drills?
Round drills are easier to place and leave gaps between each diamond. Square drills snap together to give a neater, more seamless appearance.
Furthermore, a "partial-drill" diamond painting covers only parts of the canvas with diamonds. In contrast, "full drill” covers the entire picture.
Is it for all ages?
As long as you can hold a pen steady, you can paint with diamonds! Drills aren’t just for canvas; you can “paint” keychains, jewelry, stickers, books, etc. Many companies offer kits available just for children.
Sizes
Keep in mind that the bigger the picture, the more diamonds you need to perfectly place to complete your artwork. If you're a beginner, it's best to start with smaller diamond paintings until you really get the hang of it, or you may get frustrated and ditch the whole project.
Where to buy
Diamond painting's popularity has exploded in the last few years, and there are tons of places you can find them. Most craft stores have a good selection. Diamond painting kits from dreamer designs are a good place to start, as they blend quality and stock loads of licensed designs to satisfy anyone's artistic preferences.
HOW DO YOU DO IT?
Diamond painting isn’t difficult. In fact, you can get started in four easy steps. Do you have all your tools? Great. Let’s get drilling.
Step 1: Set up your crafting area
First, you need to set up your crafting area. Lay the canvas out on a smooth, flat surface. Weigh the corners down to keep it in place. You can use books or other heavy items, no need to get fancy.
Next, get your drills organized into containers so you can quickly grab the color you're looking for.
Step 2: Choose an area to paint and a diamond color to use
Once you choose a section of your diamond painting, pick the corresponding drills and pour them into the provided tray. Some crafters prefer to leave the drills in the containers and simply shake them a bit to make the drills face up. Do whatever is easier for you!
Step 3: Add wax to the applicator pen
Apply a little bit of wax to the applicator pen by lightly smudging the tip on the wax block. You can apply plenty of diamonds with just one dip of wax. Don’t get too crazy!
Step 4. Place the diamonds
It's time! Peel back the area of the painting you will do (not the whole thing!). Pick up a drill with your applicator, and place it to its corresponding color, letter, number, or symbol. Soon, you'll have a shimmering masterpiece!
PRO TIPS
Here are a few tips to keep in mind from an avid diamond-painter:
-
Choose a cheap, easy picture to start.
-
The more detail in the picture, the bigger the size you should use (designs come in several sizes). Always check to determine if it is a "full drill" (drills cover the entire picture) or "partial drill" (drills just cover portions of the image).
-
Try not to get addicted!
THE WHOLE PICTURE
Family time is essential, and so is stimulating the brain. Diamond painting is a great way to get the family together and embrace your creative side. If you want a family-friendly activity that is easy, fun and results in a gorgeous memento, diamond painting is for you.


