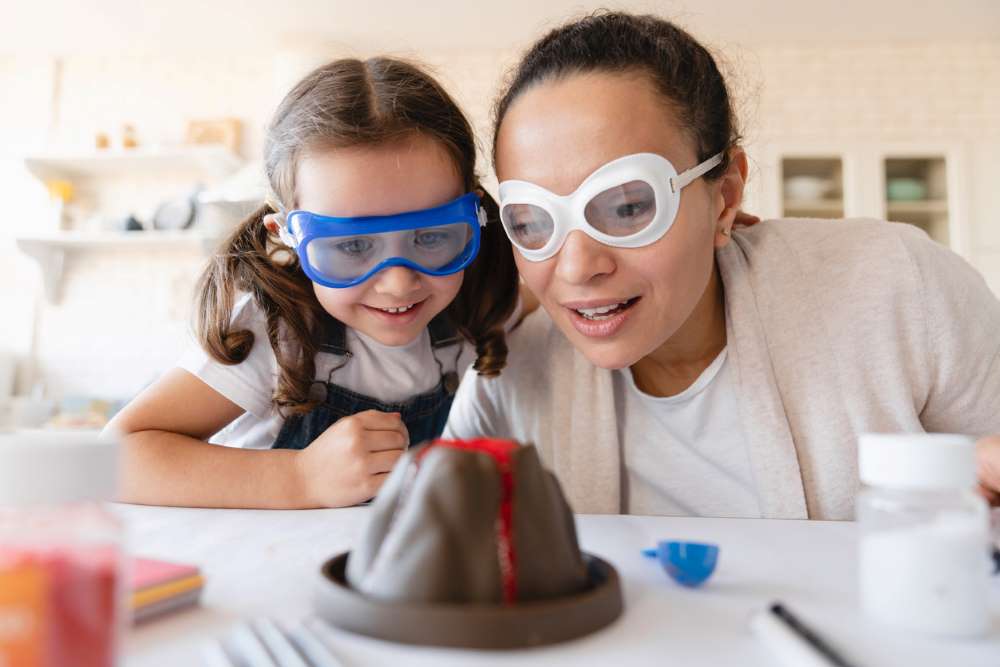
If the temperature is single digits and your kids have run out of shows to watch and games to play, it might be looking like a long winter. But it doesn’t have to be that way.
Here are five easy projects to help encourage your kid’s creative and scientific interests. You’ll beat the winter blues in no time.
-
Create a Cosmic Sun Catcher
To make this groovy rainbow craft, you'll need the following supplies:
-
Food coloring
-
Hole punch
-
Plastic lids
-
String
-
Toothpicks
-
White glue
Start by applying a generous amount of glue to one of the plastic lids. Ensure it covers the entirety of the space. Next, let your child use a couple of drops of each shade of food coloring. Have your kiddo swirl the colors around in the glue with a toothpick.
Let the glue and colors dry–some sun catchers will take one to three days to dry thoroughly. You'll know it's ready when the edges peel back from the lid. After your suncatcher has dried, remove it from the plastic cover and punch a hole through the top. Next, add a string and tie it in a sunny place.
-
Have Fun with Polymer Clay
Consider purchasing polymer clay like Sculpey from a craft store to entertain your kids this winter. You can create hundreds of things with polymer clay, from crystal or gemstone jewelry to miniature figurines. To get started, you'll need the following materials:
-
Toothpicks
-
Rolling pin
-
Sculpey clay
-
Tweezers
Before you get started, help your kids get an idea of what they want to create. Or, if they'd prefer just to have fun, allow them to have free time with the clay. If your children are interested in doing specific projects, know Sculpey has an extensive blog on creating several figurines. Just browzing the website will get your kids' imaginations firing. Once their projects are complete, follow the package instructions to bake the clay.
-
Capture the Galaxy in a Jar
Do you have a budding astronaut in your household? Your kiddo will love the out-of-this-world project. Here’s what you need to make it:
-
Clear jar with a lid
-
Cotton balls
-
Fine glitter
-
Tempera paint, at least two colors
-
Water
Begin by filling your jar one-third full with water. Next, have your kid add several drops of the first color of tempera paint. They can shake the jar to mix the water and paint. Add a dash of glitter to the mixture too.
Have your child stretch out the cotton balls and add them to the jar. You'll want to make sure they're stuffed on the bottom, so use a knife to ensure they properly absorb the water. Next, fill the jar with another one-third of water and your other color of tempera paint. Have your child shake the jar to mix the colors properly.
To finish your galaxy jar, add your last third of the water and a bit of tempera paint. Mix everything, and your child will have a beautiful galaxy in their hands.
-
Construct a Magnetic Experiment
Because this science project involves magnets, it’s geared towards older children, at least ages four and up. Magnets can be powerful, and you’ll want to take care none of your kiddos accidentally ingests one. Here’s what you’ll need to conduct this exciting experiment:
-
Colored duct tape
-
Large straws
-
MICR magnetic ink printer refill
-
1/2″ Neodymium magnets, at least four
-
Travel size mouthwash bottle
-
Water
To make your magnetic field bottle, you'll first need to empty the travel-size mouthwash bottle and ensure it's clean. Remove the labels and the plastic residue. Next, add the MICR ink, squeezing the bottle three times. Take care, adding the ink to your mouthwash bottle over the sink. The MICR ink has a sticky residue and stains surfaces.
Fill the rest of your bottle with water and seal it tightly. Consider taping it shut with duct tape if you worry your child will open it. Next, shake the bottle well until the clumps of ink begin to dissipate.
Take at least four neodymium magnets to make your magnetic wands and set them aside. Take a straw and cut a slit in the end to slide your magnets inside. Next, secure your magnets inside the straw with duct tape. Now that you've created your magnetic field bottle and magnetic wands, your kids are ready to have fun with science!
-
Build a LEGO Snow Globe
This is a fun project for LEGO fans and could be a great gift idea for friends who love LEGO figurines. To make this craft, you’ll need these supplies:
-
Glitter
-
Clear jar with a lid
-
LEGO figure
-
Superglue
First, have your kid build their LEGO scene, but ensure it will fit inside the jar. Drop a teaspoon of glitter into the bottom of the jar. Don't use super fine glitter for this project because it will float on the water. Superglue the LEGO scene to the bottom of the jar and allow adequate time to dry. Next, fill your jar with water and seal it tight. Your LEGO snow globe is finished!
Have Fun with These Projects
If you’re looking to beat the winter blues, try any of these projects out with your kids. Not only will you encourage their creativity and scientific thinking, but you’ll have fun too.


